Monday, January 7, 2013

{Homamade Laundry Detergent Tutorial}

In the past two years, I have decided to make a change for the better. I eat more whole foods and I try to live as organically as possibly!!!!!! I LOVE it! My favorite part is making as much as I can from scratch. Not only is it normally cheaper, in the long run, to do so, but it also is better for you and you KNOW what all the ingredients are. That is definitely a plus in my book.
One day I was watching 17 and counting (or 18, 19, 20...IDK where they were at at this point...lol) and they were making their own detergent...AWESOME! They mentioned that for 5 gallons of it, the cost was mere PENNIES per load. I thought to myself "and why isn't EVERYONE doing this?" You can't get any better than that! So the next time I went to the store, I picked up all the ingredients. I have adapted their recipe just a tad for a little more laundry POWER and slight scent and I think I like it more than the original. So here is goes!

HOMEMADE LAUNDRY DETERGENT:

1 bar of Fels Naptha laundry soap
2c. Borax
2c. Arm and Hammer Washing Soda
Tea Tree Essential Oil (optional)
Lavender Essential Oil (optional)
5 gallon bucket with lid
water
kitchen gloves (optional)
Paint Stir Stick or Long Handled Spoon

1. Grate the whole bar of Fels Naptha Laundry Soap. You can use a cheese grater, but I use my Microplane because it is SO MUCH FASTER!!!! Sorry I don't have a picture of this step :(
2. In a medium saucepan, fill about halfway with water. Add your grated soap and set to low heat. Heat, stirring occasionally, until all the soap has melted. Try not to stir too vigorously or you will cause bubbles.
3. While you are waiting for your soap to melt in the saucepan, run your tap water as hot as it will go and fill your 5 gallon bucket half way. Add both your Borax and Washing Soda to the water and stir. I use and old long handled spoon to stir (you wouldn't want to use it while cooking again after making this soap BTW) or you can use a paint stir stick.
4. Once the Washing Soda and Borax have dissolved and your soap has melted, add the soap mixture to the bucket and stir.
5. Once again run your tap water as hot as it will go and fill your bucket up the rest of the way.
6. Add 30 drops of Tea Tree Essential Oil and 50 drops of Lavender Essential Oil...the Tea Tree oil has antibacterial properties (great for washing) and the Lavender oil just plain smells good. This step is optional, but I enjoy the smell overall smell of the laundry soap when done!
7. Stir everything well and walk away!!!! Your pretty much done at this point...
8. There is no set time here, but every so often you'll want to mix your soap as it cools down. As it cools, it is going to thicken up considerably and the more often that you mix it, the smoother it will be. However, even if you forget to stir, you can always break up the clumps later. I normally make mine early evening and by the time I go to bed it's about 80% cooled and I just give it one more stir when I wake up in the morning and then your good to go!
You now have FIVE GALLONS of laundry soap!!!! Woo-hoo!!!!! With my family of five, that normally lasts us about 6ish months, so for what you spent to make it....it is DEFINITELY worth it!
I have a pitcher that I keep some in by my washer and dryer, so that you don't have to dip into the bucket each time...or keep that big ole' thing in your laundry room taking up space. When I wash I use roughly 1/4c. and that works great. It cleans wonderfully too because of the Borax (i'm assuming since it's a laundry booster).
If you have any questions, please feel free to ask...thanks for stopping by!

Courtney

Wednesday, January 2, 2013

{HELLO 2013}

It's a new year and I am turning over a new leaf! This year, I am setting goals for myself rather than resolutions as to not get disappointed with myself if I don't do as well as I hoped to (thanks Erin for the inspiration). So, this year my goals are to get healthy with my family, exercise more, stay up to date on my memory keeping, as well as procrastinating less, and be a better mother to my children.
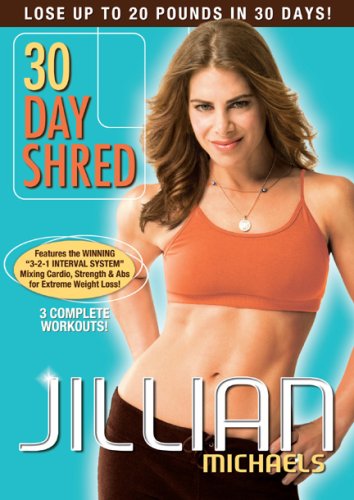
By the end of the week my hope is to start the 30 Day Shred!
I am actually pretty excited about it honestly, but I am sure that will change once I actually HAVE opened it and stuck it in the DVD player. I REALLY want to do P90X, but right now it is a bit out of my price range...hopefully sometime this year!!! As, for my diet, my plan is to eat more whole foods and learn portion control. The food that we eat is not at all unhealthy, but the portions we have grown to eat are however. We hardly ever eat out...I cook real meals each night and we actually have family dinners where we sit at the table....how many people still do that? I LOVE it! It give the kids some extra attention and I am there and able to see what everyone is eating and keep them focused on their meal. It's a work in progress, but it is worth every minute.
Have you ever heard of Project Life? This year I am starting on schedule and, let me say, I am SOOOOO Over the Moon excited about it. With some Christmas money I purchased a Canon Selphy photo printer so that I can print my picture from home and not get behind WAITING to make it to the store and print them. I am still waiting on it to arrive, but as soon as it does I will do a little review to let you know what I think of it!
I also decided to subscribe to Studio Calico's Project Life kit, so each month I will be getting new goodies to use in my album....I think that I am MOST excited about this!!!!!!!
And in hopes to stay organized and on top of things, I decided to buy the TOTALLY AWESOME Raskog cart from Ikea...isn't it pretty???
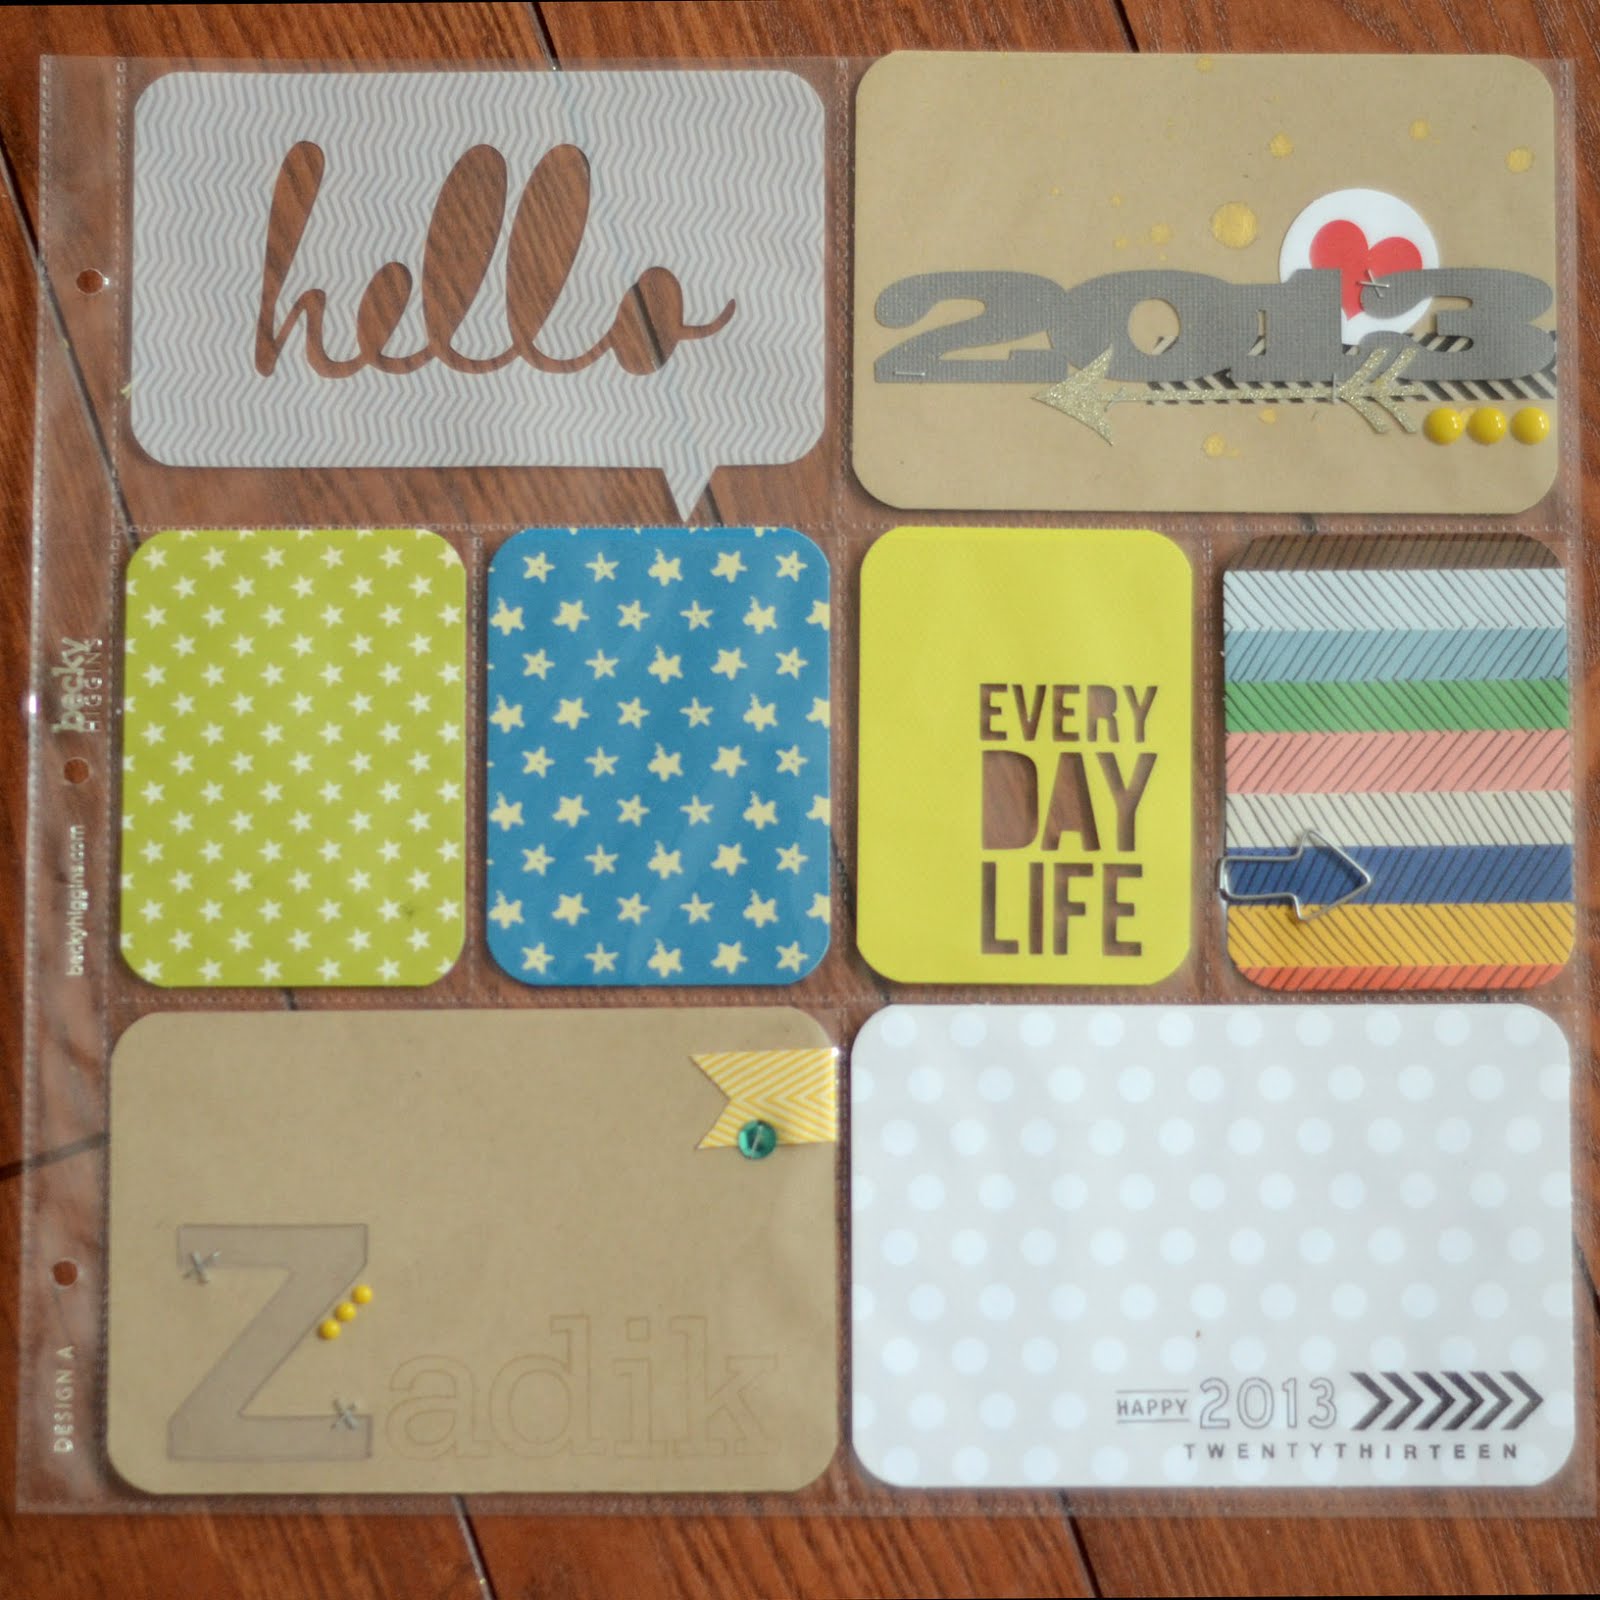
Last night I finished my title page from my 2013 album...it took me a while to get back into the swing of scrapbooking again, but I did it and I am SO HAPPY with how it turned out. Here it is!!!


I am taking a class called Day by Day over at Studio Calico as well, and it has given me some awesome inspiration for my album so far as well as a new found LOVE for my Silhouette. I have learned quite a few new tutorials on how to get the most out of your machine and it is so much fun...I a totally a Silhouette addict now.
If you would like to learn more about Project Life, head over to Becky Higgins' website for the lowdown and, as always, feel free to ask me any and all questions you may have! Here is some info for NEWBIES as well!!!!
The kids are doing well....growing like weeds. Kenzie is 5, Caleb is 3 and Logan is 1 now and BOY are they handfuls, but I wouldn't change a thing. They are adorable and say and do the cutest things. Another goal I have made is to blog more....so until next time (which is hopefully a lot sooner than later). CHEERS!!!!

Courtney

Monday, July 2, 2012

{Spider Monkey}

I recently had the opportunity to test Spider Monkey Designs new Overnight Fitted Diaper! Both of my boys are SUPERSOAKERS, so many, many, many mornings I have gotten them out of bed to find that their sheets are soaked...NO FUN. When the owner of Spider Money Designs, Julie, contaced me asking if I wanted to be a tester, I knew that it would be just that (knowing how much my boys pee and the troubles we have been through). I have come a bit of a diaper snob recently, so I was so excited to try it out right away. Of course I had to prep it...and I HATE prepping new diapers, so I washed it once and immediately tried it out that night. We use wool covers over our fitteds, so I put that baby on and off to bed we went with fingers crossed that he would wake up DRY for once!


I was hesitant to wake up the next morning to what I might find. Much to my suprise the bed was DRY...WOW!!!!! What a relief that is to not have to strip a bed every day and wash, wash, wash....cause I have enough of that to do using cloth diapers.
I was also very suprised to see how trim it fit my son (2 1/2 years old and 32 lbs) and it was not bulky at all! Another cool feature is that the soaker is made of two pieces and they snap apart for even FASTER drying time. All in all I was VERY impressed with them especially since I know that they will get even more absorbant after a few more washes. I would DEFINITELY recommend using Spider Monkey Designs Overnight Fitteds, especially if, like me, your little one is a heavy wetter!
Thanks to Julie for letting me test out her diapers.

Thursday, May 24, 2012

{What I'm Up To}

How is everyone's day so far?!?!?! Yesterday was a GREAT day for me, but today...not so much ;)

I had some news I wanted to share/discuss with everyone! I have had MANY MANY MANY inquiries reguarding larger sizing on the shoes I am offering...as much as I would LOVE to do this, I cannot manage my regular orders, as well as drawing up patterns, sewing and testing them and taking care of my 3 LITTLE kiddos...remember I am a WAHM and my kids come first!

So, with that being said I listed 4 more spots in the shop while I working on finishing current orders and working on the pattern. I will not be relisting anything until the larger sizes are ready to go, so if you were contemplating whether or not to get a pair soon, I wouldn't wait!

I would also like some feedback on what you would like to see with the larger sizing...I was planning on making them with a waterproof soling so that they would be more durable and able to be worn outside considering they will be for older children who are walking. What I want to know is if that should be an add-on option or standard, as the soling would be a bit more expensive?
I also would like to know how many of you are interested in adult shoes?!?!?! I mean, who doesn't want a pair of scrappy shoes for themselves...right?!?!?!?! :D

Lastly, I know I say this all the time, but I wanted to sincerely THANK YOU ALL for all your support! I never imagined that my business would grow as fast as it has! You all are my inspiration and I am SO thankful for that. I hope everyone has a blessed day!

♥ Courtney ♥

Sunday, May 20, 2012

{Scrappy Shoes-Zara Aubbie and Gira Amethyst}

I am in LOVE with the two most recent pairs of Scrappy Shoes that I have made! They were both for girls, so I got to use one of my newest fabrics to coordinate with the scraps...and let me tell you...they are just DARLING!!!! Let me just show you:


Unfortunately these scrap options are no longer available. Aubbie was sent in by a customer and I no longer have enough Amethyst scrap for shoes :(

On a better note, I have reached 500 fans on my Facebook page...YAY...and I am working on something BIG to celebrate so stay tuned! Thank you to all my fans for your support!

Friday, May 11, 2012

{Scrappy Shoes}

As usual, it has been a while since I have blogged. I have been enjoying being a SAHM and trying to find my niche in life as a mother/wife/crafter! I have done a few photo sessions for friends that I am really enjoying so far! I don't really plan to get into the Professional world of Photography, however I do enjoy taking photos for friends and just relying on word of mouth to fulfill my LOVE for photography!!!!! Here is a link to my flickr set with some recent sessions :
{Photography}


I have also been introduced into BABYWEARING! uH-OH! I was walking through the mall one day and came across a few women that were carrying their babies in a wrap that I had never seen before...I was so intrigued. They were so kind to invite me into the close knit community of babywearers here locally, and I must say I finally found the best group of women. We are all like-minded in our living habits as well in raising our children...it has been so wonderful to share that with others who feel the same way!


The world of babywearing has also made me new friends all over the US and let me tell you...it is such a great community of women! I feel so lucky to be a part of it. Which brings me to the subject of the titled post...Scrappy Shoes! As I said before, I have been struggling to find my niche in the handmade community, but I am happy to say that I think I have found it ;) All of the mama's that wear their babies are attached to their wraps, so I decided to make something to accessorize those wraps. Let me tell you, they are the cutest things. I want a pair for myself...which I plan to actually offer in the future. Everyone has been so responsive to them and it make me so happy to put a smile on someone's face, or child's face.


So there you have it...that is what I have been up to the past few months...as well as raising my three kiddos who are now 4 (Mackenzie), 2 (Caleb), and 9 months (Logan). They keep me busy enough! And just one more month and hubby and I will be married for 5...wait FIVE years. I can't believe how time has flown.


Thank you to everyone who has supported me and continues to support me in my life travels/endeavors!

Courtney

Thursday, December 1, 2011

{December Daily: Album Cover}

Are there any of you guys wanted to use the 6x8.5 inch album size for DD this year, but couldn't afford the kit from Studio Calico? I LOVE Studio Calico, but unfortunately with me staying home eith the kids and not working, the $$$ really isn't flowing unfortunately.
However, with my clever little trick, you'll be able to use the page protectors (sold apart from the kit) and stil be able to use the same album size as Ali!

All you'll need is:

1/4 yard of fabric
a sturdy piece of cardboard (at least 14x18)
12x12 sheet of paper
hot glue gun
Glossy Accents (optional)

For my cardboard all I used was an empty diaper box...plently of those around here with 2 in diapers! I cut 2 pieces from the box at 6.5x9, one for the front cover and one for the back. So that I don't risk any pattern showing through my fabric I just tore off the printed part of the box. If your box is not printed, just skip this step.


For my fabric I cut two piece slightly larger than my piece of cardboard (at least 1.5 inch overhang on all four sides). I then took my hot glue gun and put a dot of glue in each corner of the cardboard...CAREFUL NOT TO BURN YOURSELLF!!!


Then you will fold all four corner over onto the hot glue...DON'T PULL TOO HARD OF THE FABRIC OR ELSE YOU MAY DISTORT THE PATTERN OF YOUR FABRIC.


Once your done with that part you will squirt a line of glue down one side and bring that side's fabric up to the glue, creating a nice crisp edge...can you see it coming together already?!?!?!?! Repeat this step with the next three sides.


Once your done it should look like this. Now you can cut your paper down to (2) 6x8.5 pieces and glue that over the back of your cover (I used Glossy Accents), now covering up the last of the cardboard and creating a fully customizable album cover...pretty cool huh?!?!?!?! Just repeat this for the back cover as well.


o

I still have a few things I am waiting on to arrive, so until then that is as much as I can show you, but what my plan is now is to punch three holes in my front and back cover (corresponding to my 3 holes in the page protector) and use three large rings to hold it all together!

What is really awesome is that you can do this to make ANY size album you want!!! I have made COUNTLESS numbers of these in 8x8 using chipboard and patterned paper...SO MUCH FUN!

Link me up with your creations using this tutorial.