
1. You want to first measure your child's waist and from that measurement subtract 2 and this is going to be what you cut the length of your elastic to. (ie. mine measured 21 so I cut the elastic to 19 inches)

2. I then cut my fabric according to the length of the skirt I desired. I figured 15 inches would be good enough after it was hemmed and all. I left the fabric width the same just cut off the selvages. Normally you would want to cut your fabric twice the measurement of your child's waist (ie. 21 x 2 = 42 which is normally what the width of your fabric is anyways) If you are making this for an older child you probably will want to divide your skirt into two pieces instead of one continuous piece. Make sense???


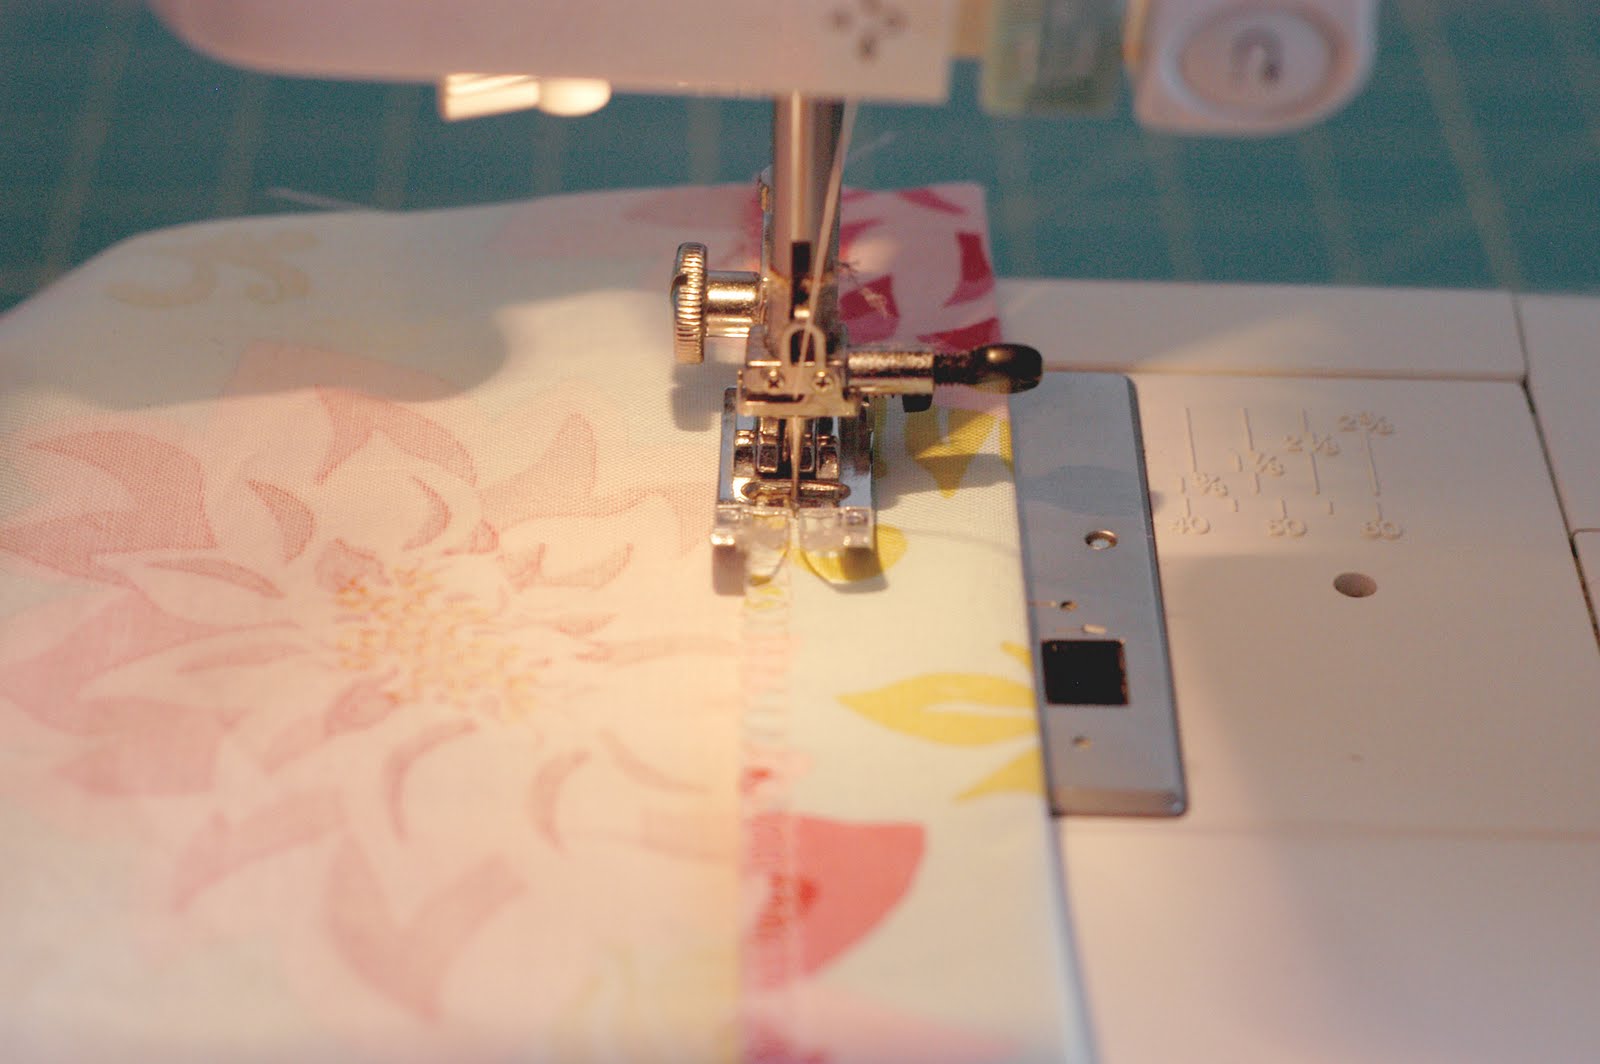
3. Next you will want to serge your top and bottom edges...if you don't have a serger...like me...continue reading or if your machine has a stitch like it may have a stitch VERY similar to a serger's stitch.


4. Once your edges are ready you will want to hem the bottom edge of your fabric. I made a one inch hem. Because you serged your bottom edge you only have to hem once. If you don't have the serger you can always to the double hem to enclose your raw edge. When you are done ironing your hem top stitch along the serged edge. Looking good isn't it?!?!?


5. At this point you can embellish the bottom of your skit with some ric rac or ribbon to give it a little more character.

6. The next part is the best as you will see you project coming together. Take your piece of elastic you cut and pin it to the top serged edge of your skirt piece. I used about five pins to evenly distribute the skirt along the elastic. This is important that you evenly distribute the fabric along the elastic.


7. You now are going to sew the elastic to the top of your skirt. I used a 1/8" seam. Back stitch at the beginning and end. As you sew you will want to pull the fabric and elasetic in each section you pinned so that they are both flush with each other. This is what is going to give you your gathered look to the shirt without actually having to gather it! Take it slow each section at a time until you get to the end. We are almost there!!!


8. Last step...you now want to put the raw edges of the skirt pieces together and sew together using a 1/2" seam. I serged that raw edge too just so that it won't fray. You can zig zag stitch the edge if you don't have a serger. When you are through press the seam to one side and VIOLA!!! You are done...now wasn't the SUPER EASY?!?!?


What do you think? Please leave me some comments on either questions or comments on how you liked the tutorial...constructive criticism please :)
Thanks for reading!!!
1 comment:
you did good girl! like your new blog.
~d
Post a Comment