
{Super Twirl Skirt}
1. For this project you will need about 1-1 1/2 yards of fabric **my daughter wears a 5 and I needed 1 yard with nothing left to spare**. Measure your child's waist and subtract 1-2 inches from that measurement. This will be the length you will cut your elastic.


2. For the top of your skirt you will need to cut two pieces of fabric the width of your child's waist measurement by 12in. **mine was 20x12in...you can adjust according to your child's height** Place these two pieces right side together and sew along both of the short sides creating a tube. Press seams open and then fold this tube in half lengthwise so that the wrong sides are together and press along the fold.


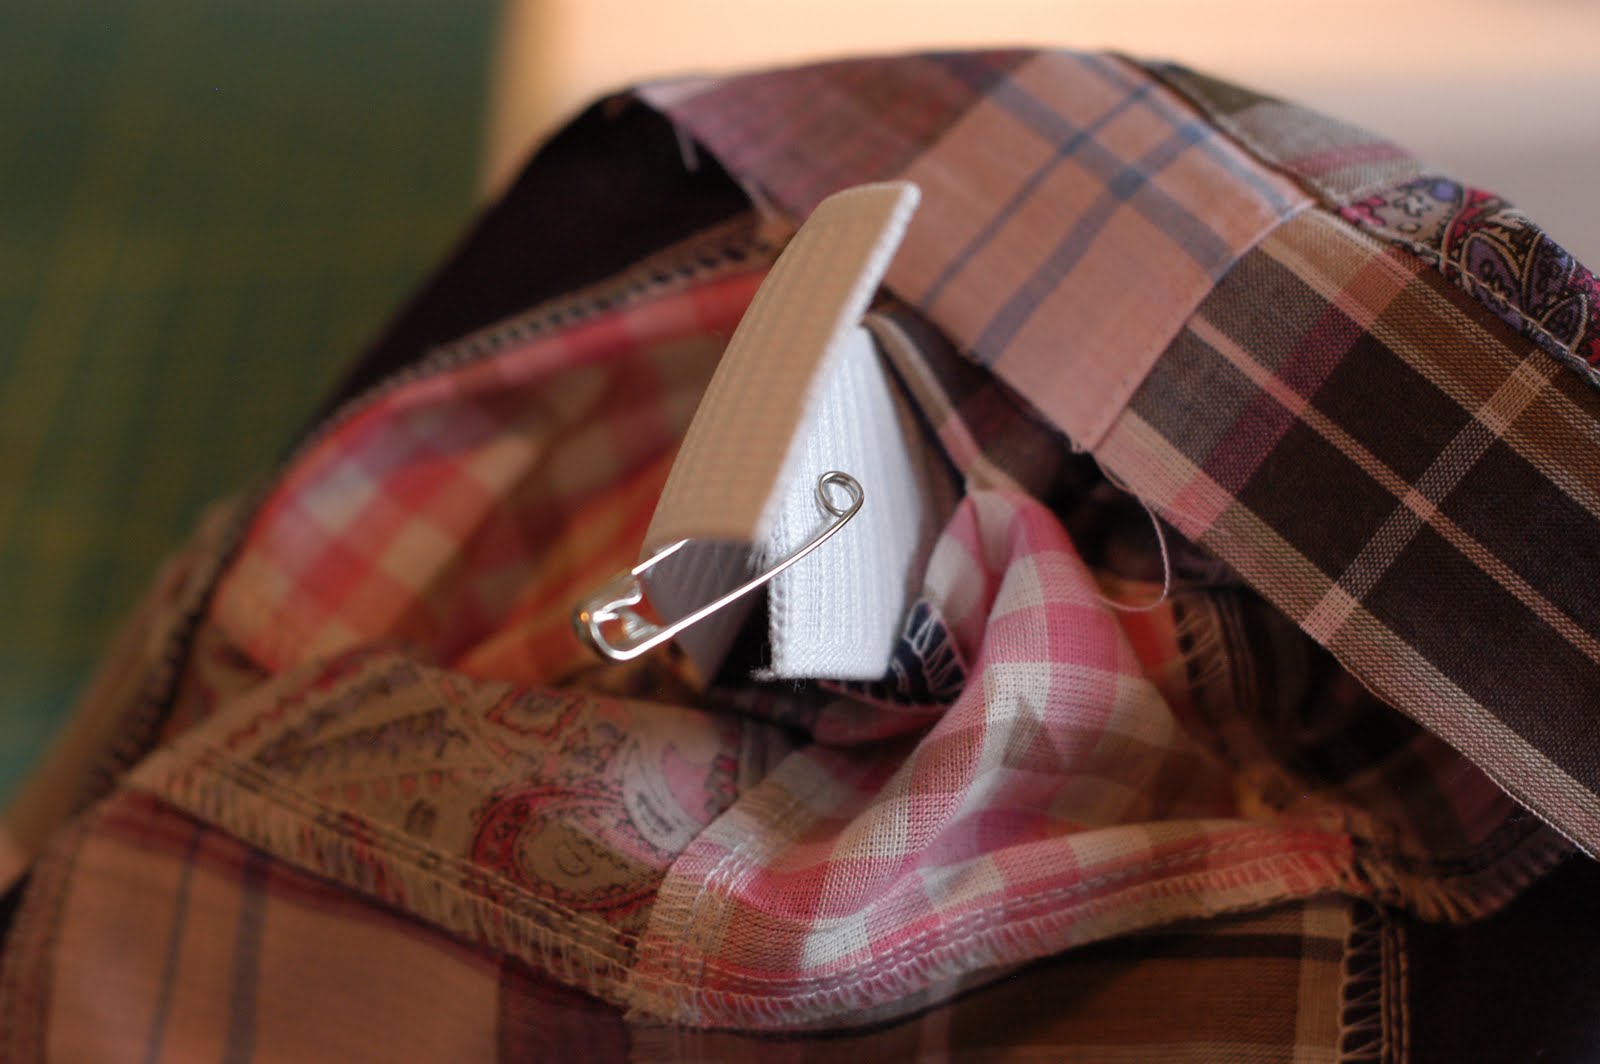
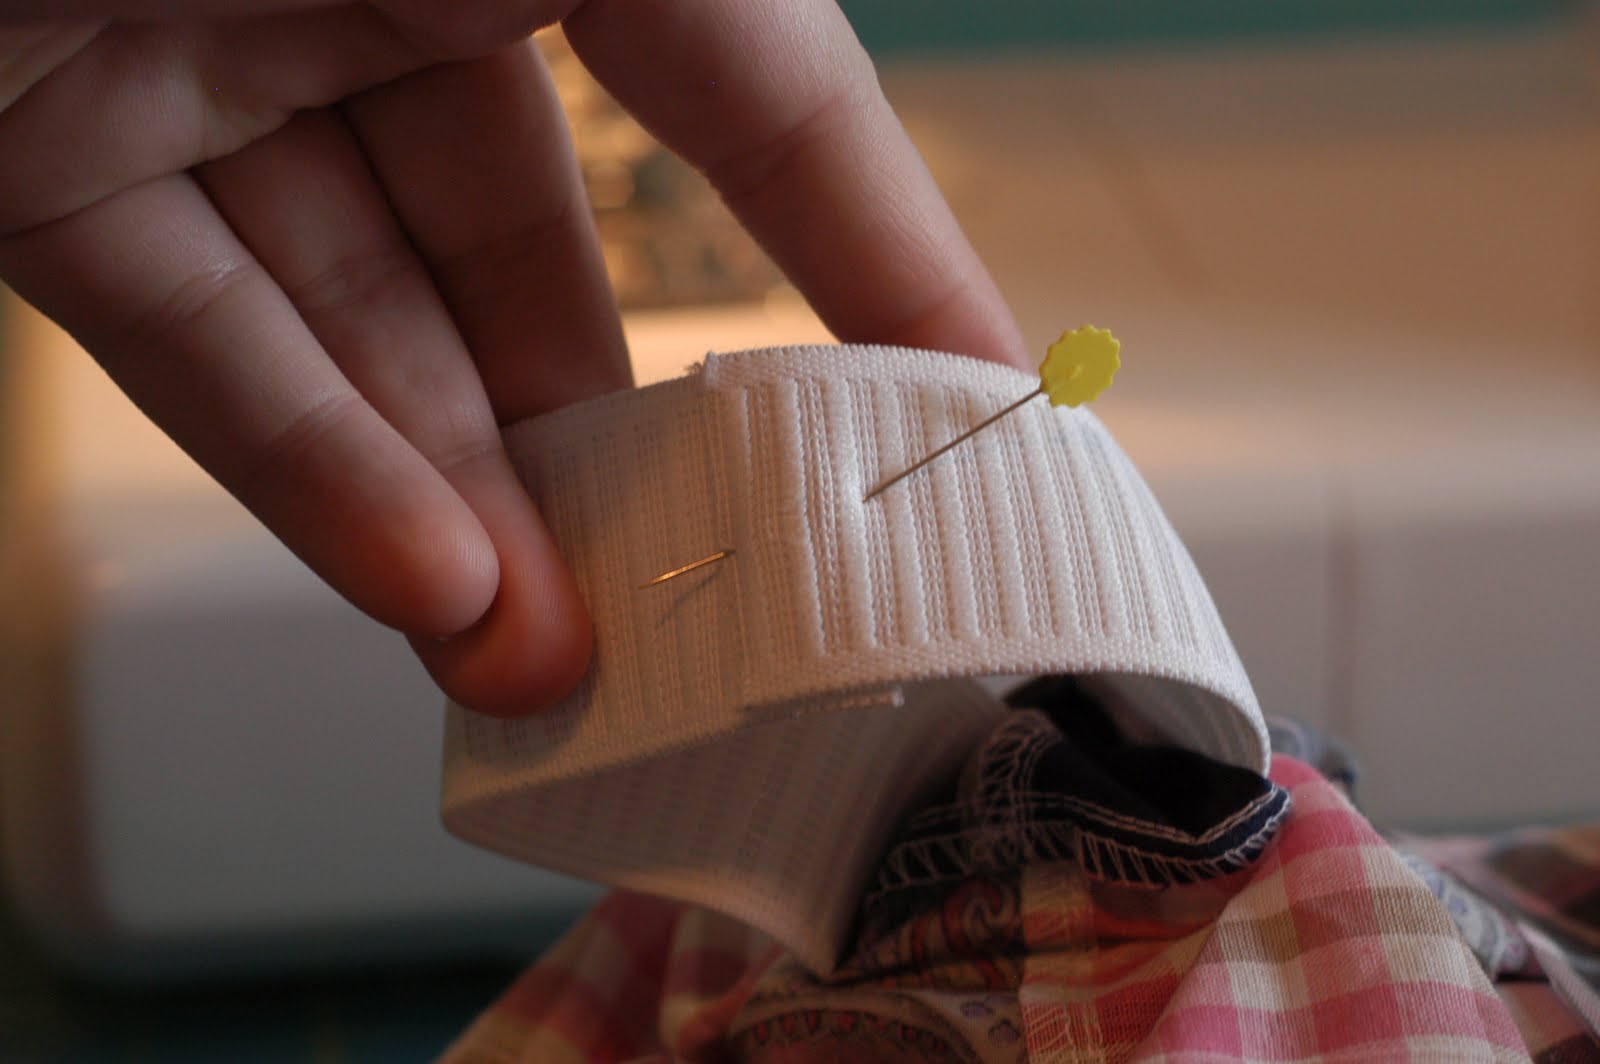
3. Next you want to sew a casing at the top of this fold the width of your elastic plus a 1/4in **my elastic was 1 1/2in so I made a casing that was 1 3/4in**. Backstitch at the beginning and end and make sure that you leave an opening the width of your elastic so that you can thread it through your casing when you are done. After threading the elastic through, sew the ends of the elastic together using a zig zag stitch. Close up the opening you made for your elastic. You have now completed the top of your skirt.


4. Next you will want to measure on your child how long you want the skirt to be and subtract the width of your top piece from that then add two inches for your seam allowance and hem **I wanted my skirt to be 12in long and my top piece was 7in then I added two inches. 12-7+2=7...does that make sense??? All these measurements are making a CUSTOM FIT skirt for your child** The you want to sew wrong sides together the short ends of your fabric once again creating a BIG tube. Press seams open. Now we are going to gather the top of this piece of fabric. Set your stitch length as high as it will go and instead of sewing all the way around the fabric once, start at one side seam **leaving long tails of thread at beginning and end** to the other and repeat. Once this part is done take the top of your skirt place it inside your bottom piece **right sides together** and match up the side seams of the top piece to the side seams of your bottom piece and pin. Now you can gather your fabric so that it matches the width of your top piece. Spread out your gathers evenly and pin as your go.


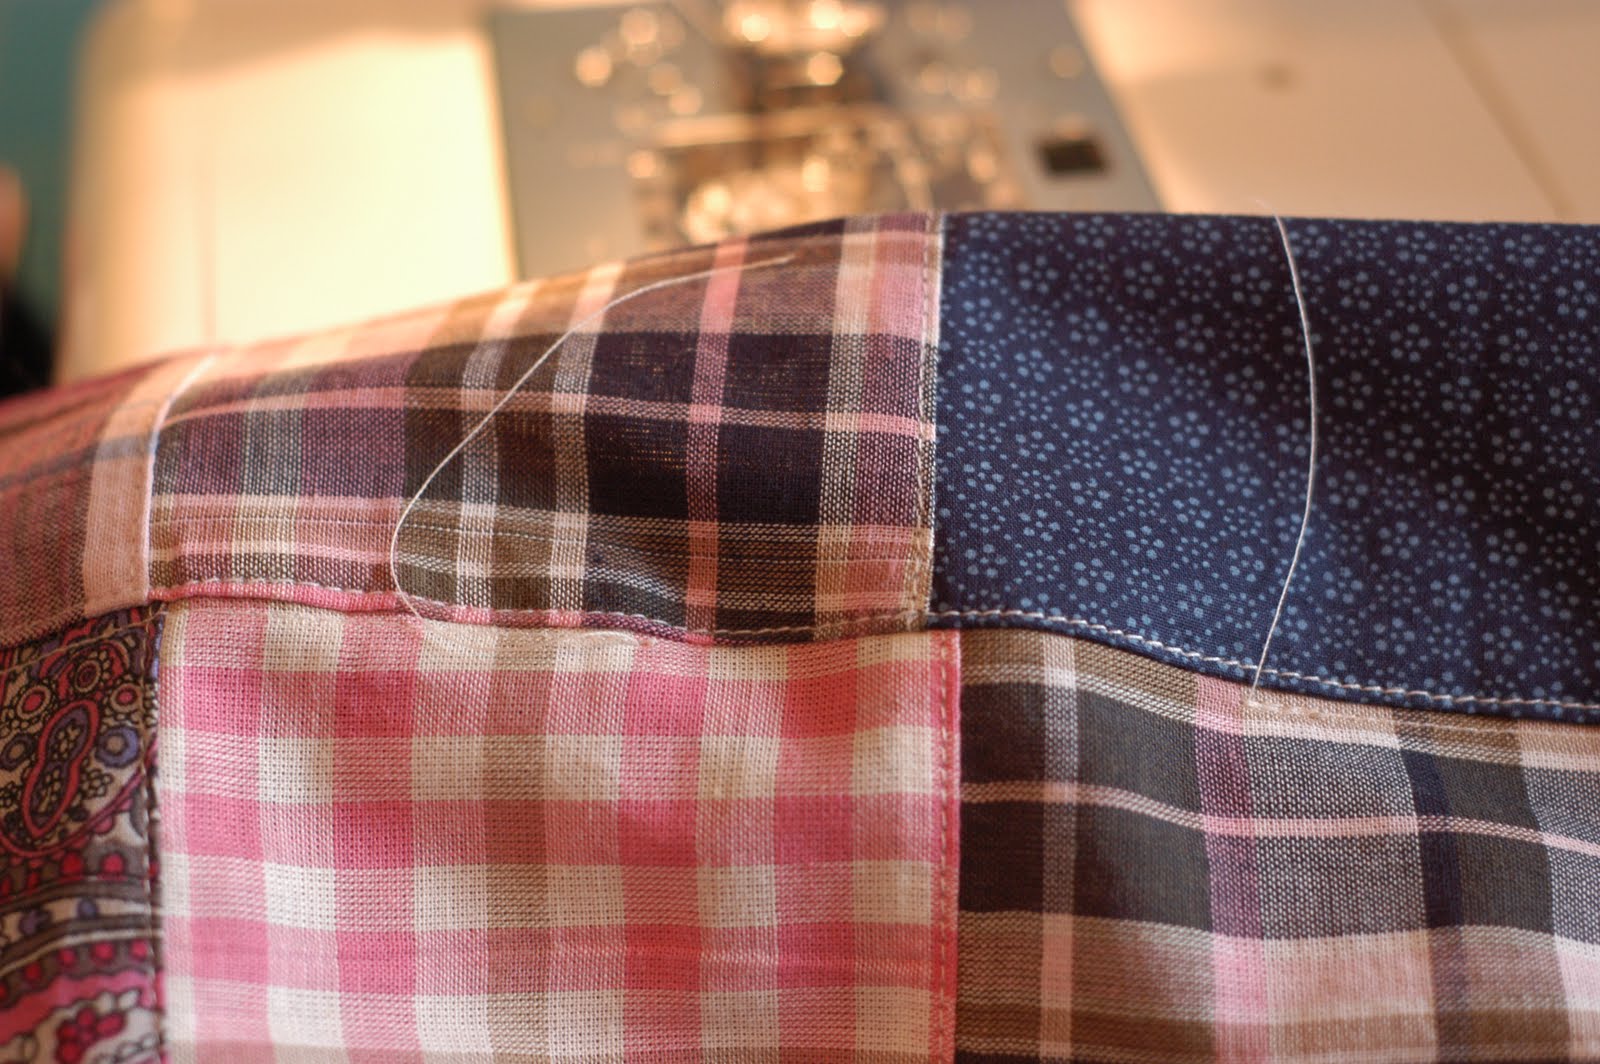
5. Once eveything is pinned together you want to sew all the way around your skirt pieces using a 1/2in seam and making sure you catch all three pieces in your seam. When your are through serge your raw edges or zig zag stitch as close to the edge as you can. **this is to prevent the raw edges from fraying and your child catching their toes on all those little threads** Flip your skirt right side out and press the seam you have just sewn up. Topstitch all the way around your skirt. **this gives it the perfect touch**


6. Lastly you want to hem your skirt. I serged my raw edge then folded it up for a hem, but if you don't have a serger you can just create a double hem encasing the raw edge.


Viola!!! Your done!!! Looks almost identical to the one from Old Navy huh???

How was it?!?!? Confusing?!?! Please feel free to leave any comments with questions you may have or something that wasn't clear or completed projects from my tutorial. I encourage constructive criticism. Thanks for looking!!!
1 comment:
Oh my gosh, girl! You did awesome on the skirt...can't believe you found such a close match to the original Old Navy fabric. Your tutorial is great!
Post a Comment